
A veteran pro tells you his favorite deck building tips that speed up the job, increase deck durability and improve quality. The result is a better deck, less hassle and fewer problems.
If building about 100 decks over the past 25 years makes someone an expert deck builder, I guess I qualify. Several of these tips are original and unique. I know—I invented them. Some I figured out by actually constructing the decks; others, by watching them age over the years. Either way, these are some of my favorite deck-building techniques, ones that I’d recommend to anyone planning to build a deck.
Tip 1: Build better stairs
Simple notched stair jacks are fine for interior stairs. They get nailed to wall studs for stability and are hidden once the house is finished. Not so with deck stairs. Naked, notched treated-wood stair jacks are unattractive and wobbly, and because there isn’t much meat to attach posts or pickets to, you’ll have wobbly handrails, too. But it’s easy to strengthen them and spruce them up. Adding sturdy, solid 2×12 skirts to the outside jacks and stair risers does it all.
Tip 2: Seam a deck
The traditional way most builders go about decking is to randomly stagger joints. The result is that end-to-end deck boards share the 1-1/2-in. thickness of each joist. That can cause problems, especially with wood decks. With only 3/4 in. of nailing surface, fasteners will cause ends to split, and since the board ends have to be tight, untreated wood will rot.
I use a faster, more material-efficient method I call seaming. It’s simply strategically placing a seam (or seams, on bigger decks) and using the same length boards for each section. Each seam is a sandwich made of an elevated vertical decking board with joists on both sides. The advantages are many. It’s faster than random seaming; all decking ends have a full 1-1/2 in. of framing, so it cuts down on fastener splits; and you can leave 1/4-in. gaps at the ends so end grain can dry out after it gets wet.
The vertical deck board is for looks only. It makes everything look planned and polished. And there’s virtually no waste. If I need to build a 20-ft.-wide deck, I’ll make it about 19 ft. 6 in. and use all 10-ft. decking on both halves. That allows for 1-in. overhangs and cutting off some bad ends.
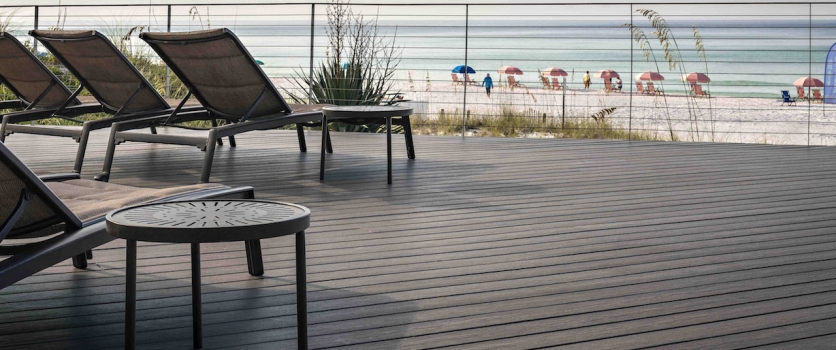
Seaming also works well for solid composite decking, which comes in fewer lengths. If, for example, I’m building a composite deck, 12- and 20-ft. lengths might be the only options. For a 16-ft.-wide deck, I might seam it to have a 4-ft. “sidewalk” down the middle for zero waste. Of course, everything depends on the design and the homeowner. But think about it next time to figure out the best approach.
Tip 3: Cobble together a layout frame
Home improvement books and TV shows always recommend laying out deck footings with batter boards and string. But I gave that up years ago. It’s faster and easier to build a layout frame from deck boards or joists. And unlike string, a frame gives you a solid guide to mark footing holes and align post bases. You can mark the location of the frame by driving a few stakes and then remove it to dig holes or pour footings. Then you can quickly replace the frame to align post bases or set posts. You can even screw posts to the frame to hold them in perfect position while you backfill.
Tip 4: Leave a little step below doors
There are so many reasons not to snug decks right under door thresholds. The screen and sliding door tracks on patio doors get full of debris. Storm doors have to bulldoze their way through leaves in the fall. And those leaves will get blown or kicked into the house every time the door opens. Splashing water rots out wood casing and jamb trim. And last but not least, water will inevitably work its way under any threshold and rot out the subfloor and then the framing. It’s nearly impossible to flash between ledgers and thresholds if the decking is flush to thresholds. Leave a 3-in. step: The house and its owner will be a lot happier in the long run.
Tip 5: Check the end grain on 4x4s.
When buying 4x4s, don’t just sight them for straightness; always look at the ends. Try to avoid 4x4s that include the center of the tree, especially anywhere near the center of the 4×4. Those can twist into airplane propellers in no time. This is particularly true of 8-footers because those are often the leftovers from “peeling logs,” the outer layers of which have been shaved off to make plywood veneer. When I order 4x4s over the phone and need eights, I always order tens to reduce the chances of getting 4×4 leftovers from peelers.
Tip 6: Get over lag screws
There are few reasons to use lag screws anymore. Construction screws may look wimpy, but they’re actually stronger than lags. And you don’t have to spend five minutes cranking each one in with a ratchet.
Give construction screws a try on your next deck. You can drive them with any 18-volt screw gun without predrilling—they don’t split wood. The price may shock you (they cost four times as much), but you’ll never go back to lags.
Tip 7: Avoid miters
Avoid miters when you can, especially in wide boards. Here’s why. Wood installed outdoors immediately starts shrinking—or in some conditions, expanding—mostly in width. Miters will always open up unevenly, and your perfect miter will look like a hack job in no time. Whenever possible, use simple butt joints. They don’t look as professional as miters at first, but they look better in the long run.
Source : https://www.familyhandyman.com/decks/building-a-deck/tips-for-how-to-build-a-deck/view-all/
